

Wondering How Your Garage Can Look?
From Drabulous to Fabulous: The Ultimate Epoxy Flake Floor Transformation!
Is your garage floor looking tired, stained, and just plain uninspiring? You're not alone! Many homeowners dream of a durable, easy-to-clean, and visually stunning garage floor, but they often don't realize how achievable it is. One of the most popular and effective solutions is an epoxy flake floor system.
An epoxy flake floor isn't just about good looks; it's a robust, long-lasting surface that resists stains, chemicals, and abrasions, all while providing a beautiful, customizable finish. Let's take a journey through a recent transformation, showcasing the incredible "before and after" of an epoxy flake floor installation!
The "Before": A Floor Crying Out for Help
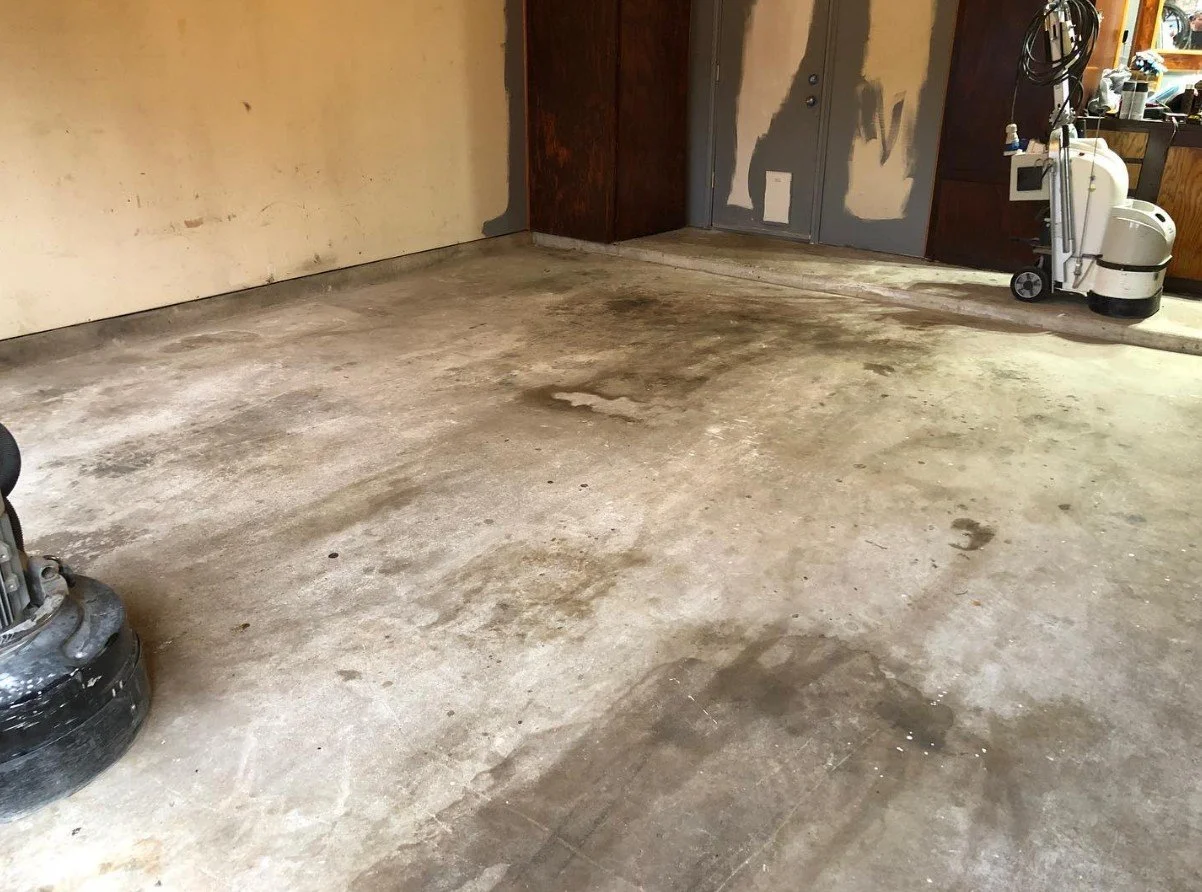
Our client's garage was a typical tired garage scene: a dull, gray concrete slab that had seen better days. It was marked with oil stains, tire marks, and general wear and tear from years of use. Not only did it look uninviting, but the porous concrete was also difficult to keep clean.
This "before" image perfectly illustrates the common issues faced by many homeowners. Notice the various stains, the lack of vibrancy, and the overall unkempt appearance. This floor was begging for a facelift!
The Transformation Process: More Than Just Paint!
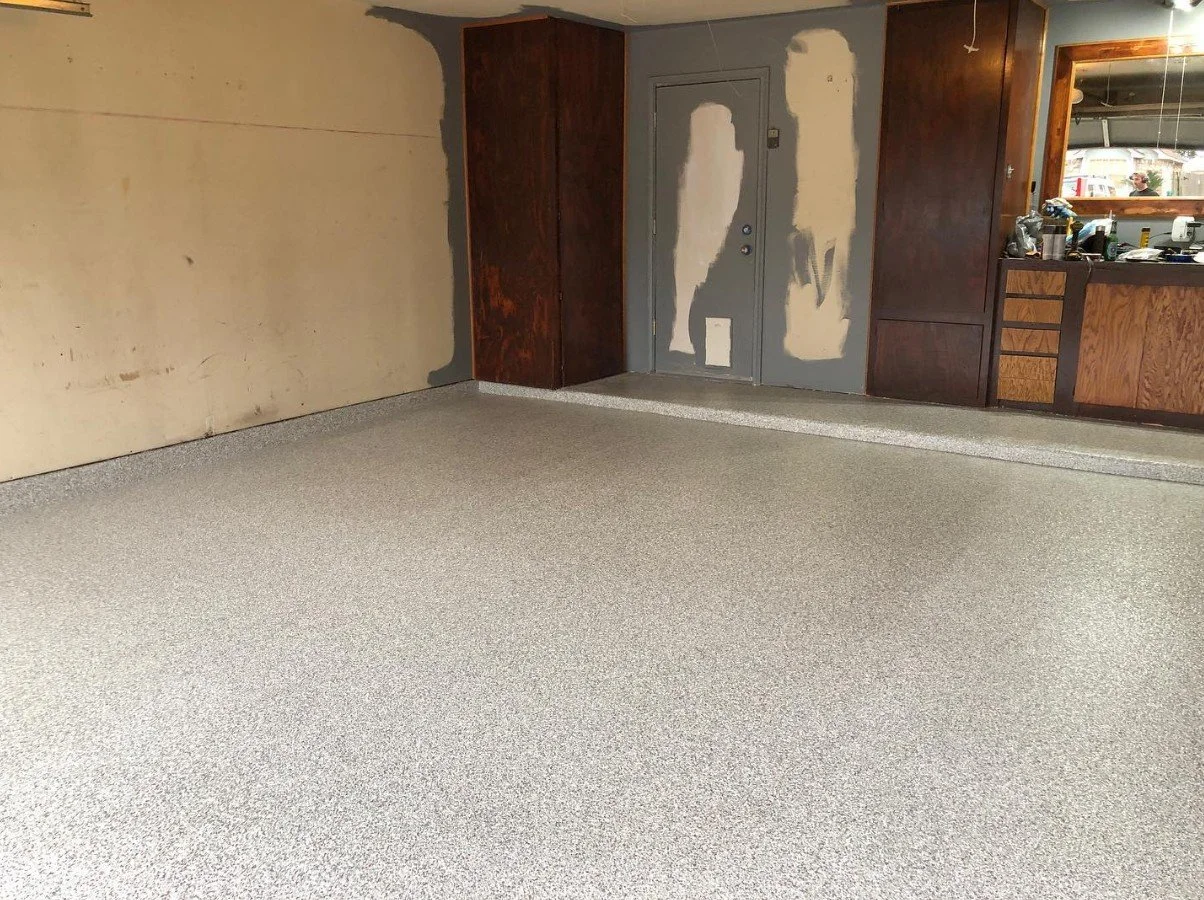
Installing an epoxy flake floor is a multi-step process that ensures durability and a flawless finish. It's not as simple as rolling on a coat of paint. We transformed this floor in one day and, needless to say, our client was more than pleased. While the walls still looked pretty bad, the client had carpenters and painters arriving the following day to finish the transformation of his garage.
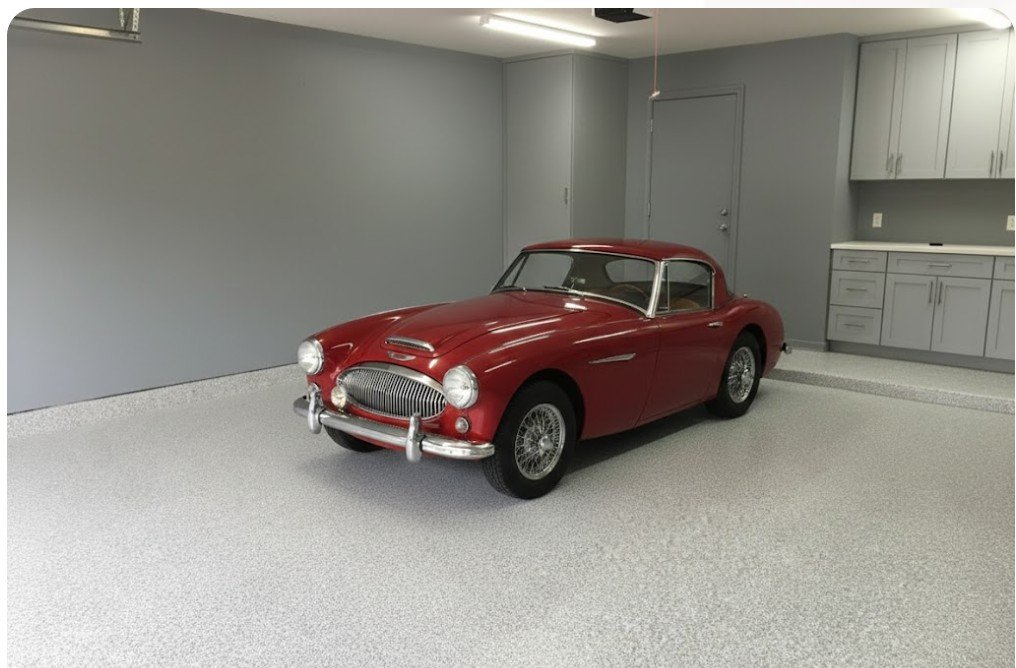
WHAT A DIFFERENCE A COUPLE OF WEEKS MAKE!
Thinking about installing the floor yourself with a $500 kit from a big box store??? You might want to think twice after you see the professional installation steps below. After reviewing these professional installation steps, you will better understand why a professionally installed floor costs quite a bit more (and lasts so much longer!).
The Step-by-Step Guide: Installing a Professional Epoxy Flake Floor
Installing an epoxy flake flooring system is a highly rewarding project that provides a durable, stain-resistant, and aesthetically stunning finish for your garage. However, achieving a professional result requires meticulous preparation and adherence to specific steps.
Here is a detailed breakdown of the process:
Step 1: Preparation of the Concrete Substrate (The Most Crucial Step)
The longevity and adhesion of the epoxy are entirely dependent on how well the concrete is prepared.
Clear the Area: Completely empty the garage of all items, vehicles, and debris.
Cleaning and Degreasing: Thoroughly clean the floor to remove oil, grease, tire marks, and chemicals. Use a strong degreaser and scrub brush, then rinse completely.
Crack and Chip Repair: Fill any cracks, pitting, or chips in the concrete using a two-part epoxy patch or mortar. Allow the patch material to cure fully as per the manufacturer's instructions.
Mechanical Abrasion (Grinding): This is the most critical step for professional results. Use a walk-behind concrete grinder with diamond tooling to remove the top layer of concrete and profile the surface to a texture similar to medium-grit sandpaper. This creates the necessary profile for the epoxy to mechanically bond. Acid etching is often used for DIY kits but is far inferior to mechanical grinding.
Dust Removal: Vacuum the entire floor thoroughly using an industrial vacuum with a HEPA filter to ensure no dust remains.
Step 2: Applying the Primer/Base Coat
The base coat is the foundational layer that anchors the entire system to the concrete.
Mixing the Epoxy: The epoxy is typically a two-part system (Part A and Part B). Mix the two parts according to the manufacturer’s specifications using a slow-speed drill and a Jiffy mixer paddle. Work quickly, as the epoxy has a limited pot life once mixed.
Cutting In: Use a brush to "cut in" along the edges of the walls, around garage door tracks, and any expansion joints.
Rolling the Base Coat: Pour a ribbon of the mixed epoxy onto the floor and use a long-handled, solvent-resistant roller (often 3/8-inch nap) to spread a thin, even layer across the entire floor. Ensure the coat is uniform and avoid pooling or skipping areas.
Step 3: Broadcasting the Flakes (Chips)
This step provides the color, texture, and anti-slip properties.
Immediate Broadcast: While the base coat is still wet, begin broadcasting the vinyl flakes immediately after rolling out the base coat section.
Saturation Technique: Grab handfuls of flakes and toss them up and out so they drift down onto the wet epoxy in an even cloud. This prevents creating piles or heavy spots. Work methodically across the floor.
Full Refusal (Optional but Recommended): For maximum coverage and durability, broadcast the flakes heavily until they completely cover the wet epoxy and no more flakes will stick. This is called "broadcasting to refusal."
Curing: Allow the epoxy base coat and flakes to cure fully. This can take anywhere from 2 to 6 hours, depending on the product and environmental conditions.
Step 4: Scraping and Vacuuming
Once the base coat is cured, the floor will feel rough due to the flakes standing on end.
Scraping: Use a long-handled metal scraper or stiff plastic floor scraper to lightly scrape the excess, vertically oriented flakes off the floor. Scrape in multiple directions to ensure a smooth, uniform surface.
Vacuuming: Thoroughly sweep and vacuum the loose flakes (which can be saved for touch-ups) from the floor. Ensure the floor is clean before proceeding to the topcoat.
Step 5: Applying the Clear Top Coat
The final layer seals the flakes, provides UV protection (if a polyaspartic/polyurethane topcoat is used), and creates the final gloss and protective barrier.
Mixing the Top Coat: Mix the two-part clear top coat (epoxy, polyurethane, or polyaspartic) according to instructions. Polyaspartic coatings offer the best UV protection and faster cure times but must be applied quickly.
Application: Apply the top coat using the same "cut in" and rolling technique used for the base coat. Roll out a uniform, generous layer to completely encapsulate the flakes.
Optional Anti-Slip Additive: If desired, a non-slip additive (like a fine grit or aluminum oxide) can be mixed into the top coat before application, or sprinkled lightly onto the wet top coat.
Step 6: Final Cure and Return to Service
Foot Traffic: Most high-performance systems allow for light foot traffic after 24 hours.
Vehicle Traffic: The most crucial stage. Wait the full recommended cure time (often 2 to 3 days) before driving vehicles onto the new floor. Using the floor too early can cause tire marks or the coating to peel.
Following this detailed process ensures a durable, professional-grade epoxy flake floor that will transform your garage for years to come!